Image Source: Google
Protecting your home from the potential damage caused by clogged gutters is essential for maintaining the structural integrity of your property. Rain gutter guards are a simple and effective solution to keep debris out of your gutters and allow water to flow freely away from your home. Installing rain gutter guards is a relatively straightforward process that can be done by most homeowners with basic tools and DIY skills. In this step-by-step installation guide, we will walk you through the process of protecting your home with rain gutter guards.
The first step in choosing the right install rain gutter guards is to measure the length of your gutters to determine how many guards you will need. You will also need to decide on the type of gutter guards you want to install, as there are various options available, including mesh screens, bottle brush inserts, and solid covers.
Once you have determined the length of your gutters and selected the type of gutter guards you want to use, you can purchase the necessary materials from your local hardware store or online.
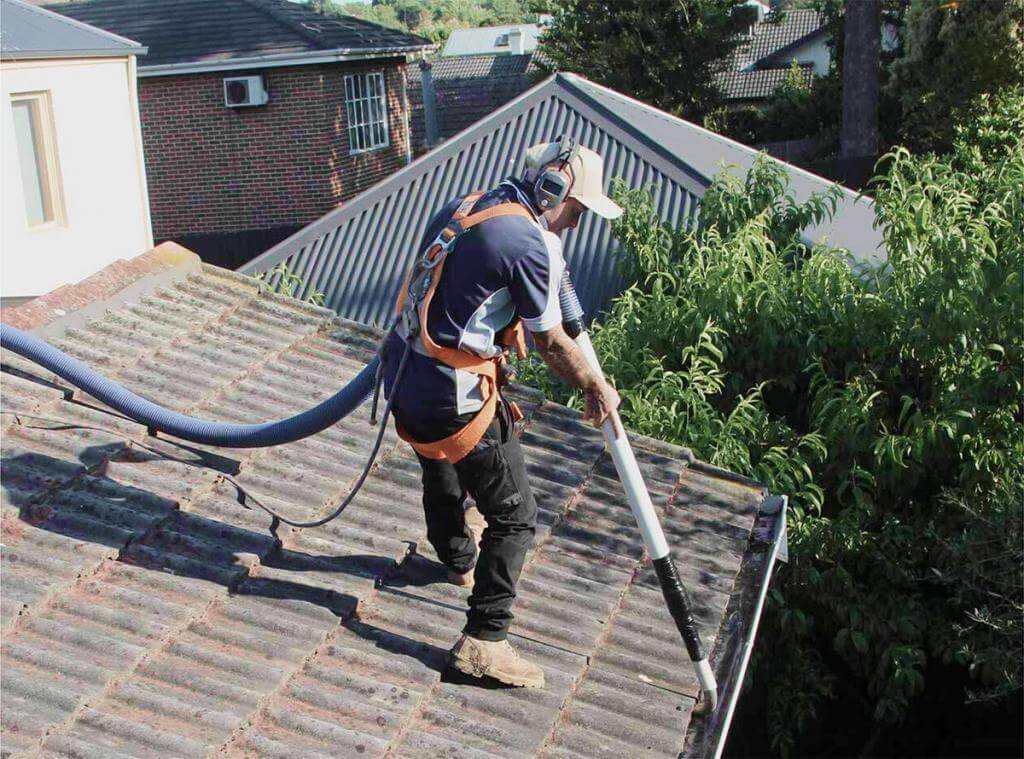
Next, you will need to clean out your gutters to ensure that they are free of debris before installing the gutter guards. Use a ladder to access your gutters and remove any leaves, twigs, and other debris that may have accumulated. It is important to clean your gutters thoroughly to prevent clogs and ensure that the gutter guards can function properly once installed.
After cleaning out your gutters, you can begin installing the gutter guards. Start by positioning the first guard at one end of your gutter and secure it in place according to the manufacturer's instructions. Make sure that the guard is level and fits securely against the edge of your roof. Continue installing the remaining guards along the length of your gutters, making sure to overlap the edges of each guard to prevent debris from entering the gutter.
Once all of the gutter guards are in place, secure them with screws or clips to ensure that they stay put during heavy rain or wind. Check to make sure that the guards are securely attached and that there are no gaps where debris could enter the gutter. You may also want to trim any excess material from the guards to ensure a clean and tidy appearance.
Finally, test the gutter guards by running water through your gutters to see how effectively they channel water away from your home. Make any necessary adjustments to ensure that the guards are working properly and that water is flowing freely through the gutters. Regularly inspect and maintain your gutter guards to keep them clean and functioning effectively throughout the year.
By following this step-by-step installation guide, you can protect your home from the potential damage caused by clogged gutters and ensure that your gutters remain clear and free-flowing. Rain gutter guards are a simple and cost-effective solution to help maintain the integrity of your home and prevent water damage to your property. With just a few hours of work and some basic tools, you can install gutter guards yourself and enjoy the peace of mind that comes with knowing your home is protected. So, don't wait until the next heavy rainstorm hits – take action now to protect your home with rain gutter guards.
In conclusion, installing rain gutter guards is a practical and effective way to protect your home from water damage and ensure that your gutters remain free of debris. By following this step-by-step guide, you can take proactive steps to safeguard your property and prevent costly repairs down the line. With a little time and effort, you can install gutter guards yourself and enjoy the benefits of a low-maintenance gutter system that will keep your home safe and dry for years to come.
/cdn.vox-cdn.com/uploads/chorus_image/image/51867435/Eli_Preferred_Headshot.0.jpeg)